This week, we saw the first frost. Tuesday had a very light frost, and then Wednesday a more substantial one. Ever since my tulip bulbs arrived in the mail, I’ve been eagerly awaiting frost so that I could pull out the dahlias and plant the tulips in their place. The dahlias did so well this year, filling our house with bouquets of cut flowers and garnering many comments from neighbors and passers-by.
Sources:
Fundamentals of Growing Dahlias (American Dahlia Society)
Digging, dividing, and storing tubers (American Dahlia Society)

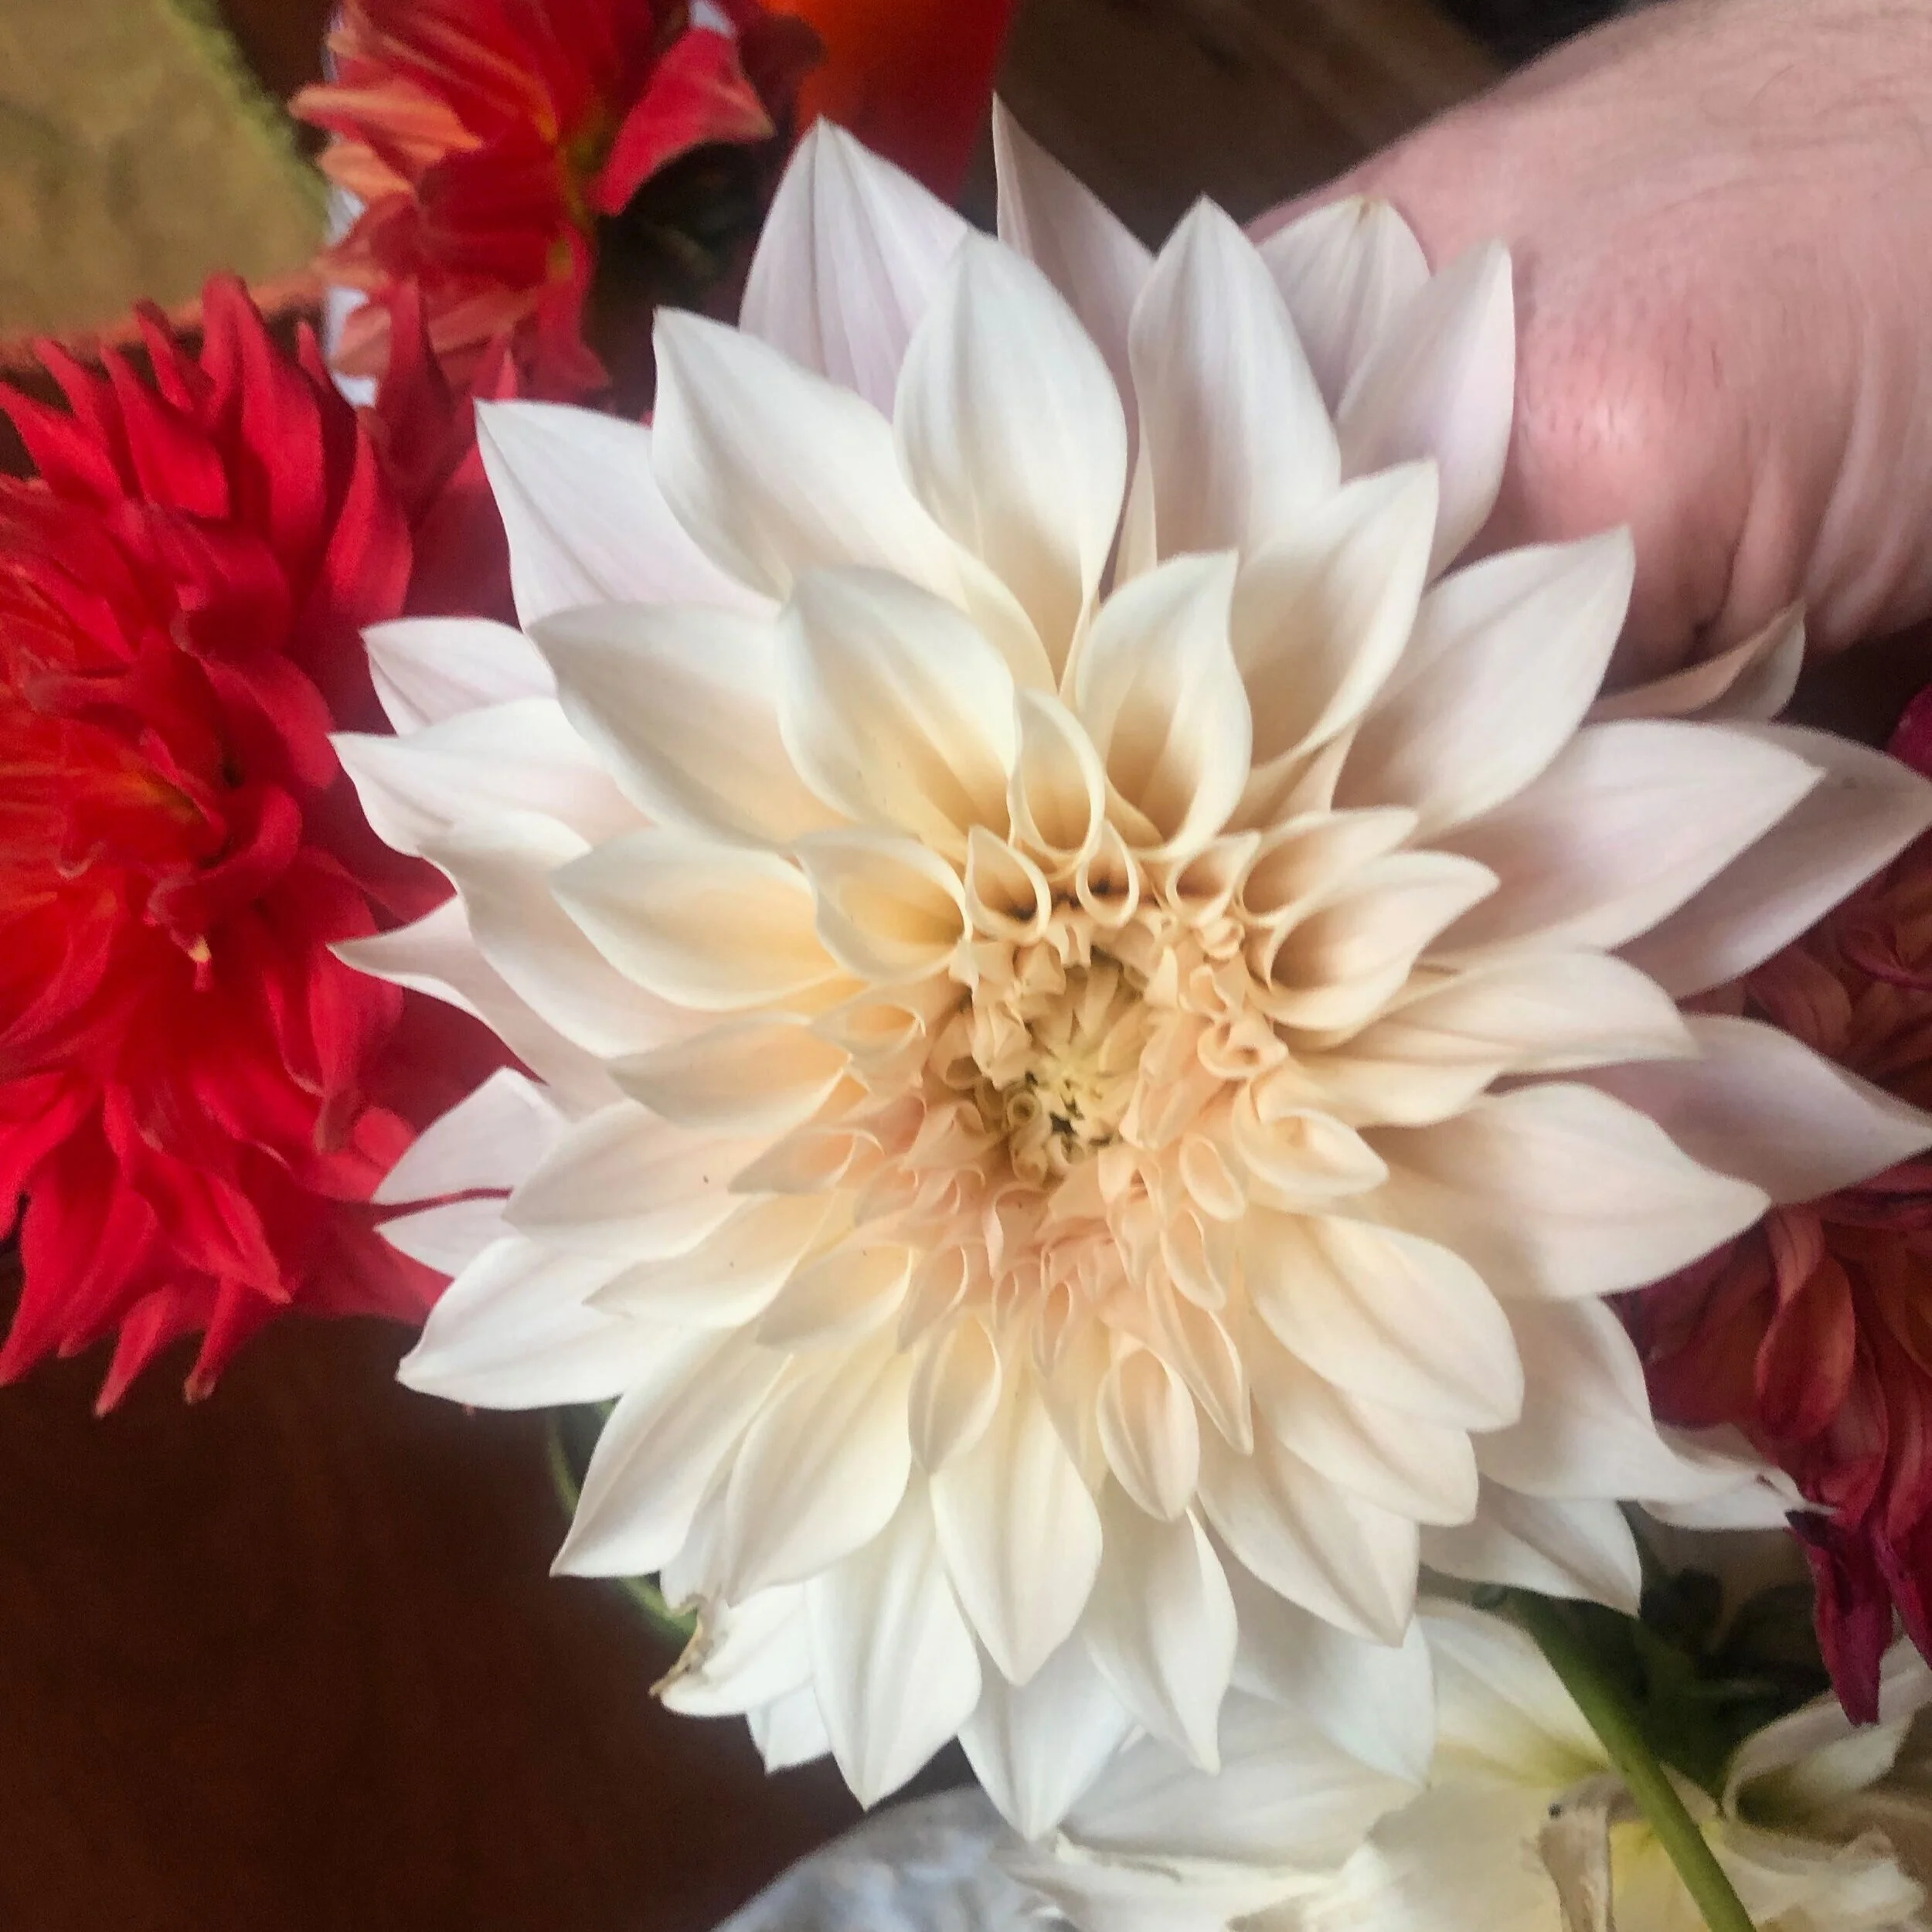


You can see the varieties we grew this year in the slideshow above. This is our third year growing dahlias. It started rather simply with just a single dahlia, Grayval Shiraz, bought on a whim at the nursery. After we had 4+ months of bountiful burgundy blooms, it was hard not to want to plant more the second year. We expanded to 4 varieties. This year, we are up to 8. I have three new ones to try out next year that I’ve already pre-ordered!
Dahlias are native to Mexico and are the national flower of Mexico. The Aztecs used their tubers for food. I haven’t tried eating one, but I’ve read that they aren’t that flavorful. The description of how they are after cooking sounds similar to poi.
The first frost will kill the leaves that are exposed to the frost, rendering the plants very sad-looking. They were already struggling a bit with end-of-season powdery mildew, so it was definitely time to move on.
First, on Tuesday, I cut all the plants down.
Dig

I left enough stem to make the clumps easy to handle.

It’s important to dip your clippers in bleach solution between plants so that you don’t spread any disease.
After cutting them all back to a few inches of stem, I let them sit overnight in order to encourage eyes to develop. Kind of like potatoes, dahlia tubers develop eyes, and it’s from these eyes that the stalks of next year’s plants will grow. When you divide, you want each tuber to have at least one eye. According to the guide linked above from the American Dahlia Society, letting them sit in the ground for a day or few after cutting back encourages eye growth. It seemed to work, as the eyes were easier to identify than they have been when I did this in past years.
Another thing the guide suggested was covering the exposed stalks with aluminum foil to prevent water from building up in the stalks. I was only going to let them sit one night, and it was anticipated to be a dry night, so I skipped this step. It was fine for all the plants save one—the Grayval Shiraz—which did have a lot of water in it when I went to divide, and showed signs of rot where the water had been. So, in the future, I’ll be taking this advice.
The next day, I carefully dug up each clump, gently knocking off some dirt in the process, but saving the intense dirt removal until after they had a couple of hours to dry out and firm up some.

Here you can see the clump for one of our most impressive varieties, KA’s Cloud, a huge white-pink dinnerplate.
After letting the clumps air dry a bit, I carefully removed them to the back yard where I was going to do the work of cleaning and dividing them. It’s very important at this stage to keep track of which is which! You can see below that I used blue painters tape to label each clump.

The next step is to remove as much soil as possible, and for this I sprayed them with the hose. Then, I went through and trimmed off all of the thin, spidery roots. These aren’t needed for storage, and cleaning them up makes it easier to identify and separate the tubers.

Here you can see a cleaned and trimmed clump from the Moonlight Sonata dinnerplate variety.
At this point, I took an overnight break. It wasn’t supposed to freeze, but I covered them with plastic just in case.
The next afternoon, I sat down with my trusty shears and bleach dip to prepare to divide. The bleach dip is supposed to help prevent transferring a virus from one dahlia to the next. I’m not sure if any of my dahlias had this virus, but in this age of pandemic, it seemed better to be safe than sorry.
The first thing I would do for each clump was cut off as much stem as I could.
Divide

Clump sans stem
Remember to keep track of which clump you are working on! It would be a shame to go to all this trouble and then just have a random grab bag of tubers when you go to plant next year.
The next step was to remove all of the tubers that don’t have a chance. Some of them are too small, too skinny, or have an overly-thin neck.

In my experience, tubers with a thin neck don’t survive well. The neck is too easy to snap, separating the eyes from the rest of the tuber.
In addition to tubers that won’t be easy to store and plant, we want to skip over the “mother” tuber. I got this term from the guide written by the American Dahlia Society, and I wasn’t sure what it meant at first. But once I started dividing, I noticed each clump had one tuber that didn’t have the same shape as the others, and it tended to have a clump of roots growing off of the non-business-end. I decided these were the mothers—they tended to be central to the clump and just had a maternal vibe.

One gnarly mother.
So we’ve talked about which parts of the clump we don’t want, but how do we pick out a tuber we do want?
Well, we want some of the “crown” which is the lump of flesh in the center of the clump, just below where the stems end, and this is where new shoots come from, where we can find eyes.


You want to try to leave some crown for the other tubers, while also getting a good chunk for each of them. Each tuber will have a fat bottom, a neck (but not too skinny) and then a piece of crown with an eye.
At this stage you may not always be able to identify the eye. Here’s a clear example of an easy-to-clock one:

Not the easiest thing to photograph, but here is a raised nubbin that will become a sprout next year.
Sometimes, you may have two or more tubers that aren’t so easy to separate. It’s okay to store a couple of tubers attached to a piece of crown—it’s okay to just store entire clumps if you want. It just means that you’ll have fewer opportunities to grow your dahlia patch through multiplication. On my precious KA’s cloud, there just weren’t many tubers to begin with, and I was afraid of losing an eye (theirs, not mine) by dividing two tubers that didn’t have a lot of crown to spare, so I just stored them in a mini clump. I paid $25 for that tuber this year, so I didn’t want to risk not having any at all next year!
After dividing comes storage
Store
You want to store your dahlias in a way that keeps them from rotting and also doesn’t make them sprout too early. This means controlling moisture and temperature. The first year, I just wrapped the tubers in saran wrap and put them in a plastic clamshell (like the kind pre-washed salad greens come in) and put them in the basement. That worked pretty well.
The next year I decided to try being fancier, and I bought pearlite and stored them in that in black plastic pots (the kind plants come in from the nursery) one per variety. This did not go so well. First, the pearlite was too fine, dusty, and messy. I tried putting down coco or newspaper to keep the pearlite from running out of the drainage holes in the pots, but the pots still left a trail of pearlite whenever they were moved. Also, this proved to be far too dry, with many of my tubers withered up and no longer viable the next spring.
This year, I read the guide from the American Dahlia Society (linked at the top of this post) and they suggested large vermiculite or wood shavings. The day I went to shop for supplies, the local garden store was closed but the local pet store was open, so I went in to buy the wood shavings they sell for rodent bedding. I also grabbed some doggie poop bags to separate my varieties into. Turns out the bedding just looked like wood shavings as I shopped hurriedly (as one does in a pandemic) and was actually soft shredded paper. So my fingers are crossed that this is just as good!
First, I laid a layer of the bedding in a bag.

Layer of bedding.
Then, add a layer of dahlias.

Night, night, little dahlias!
I also snipped some small holes in the bags to let them breathe.
Then, I added a tape label to the outside of the bag, gently closed the bag (no tape or tie, to make it easier to check on them through the winter) and laid them all in a large storage bin like so.

Then, I snapped the lid onto the bin, and slid it back into the crawlspace under the house.
So, the bedding keeps it dry, the bags keep from getting too dry, the slits in the bag let them breathe, and the plastic bin keeps the whole thing somewhat moisture-locked so that they don’t dry out totally or get sodden from winter humidity. And, I hope that the temperature in the crawlspace is such that they hang out in a nice little stasis for the next 6-7 months.
I plan to check on them periodically (the guide says monthly) to remove any that seem to be rotting so that the rot doesn’t spread.
I’ll plan to post some updates as the storage season progresses!